Air Dry Cacti Holders . . . Succulent, sweet and perfect pressies!
- Written by
- Dyani Van Basten Batenburg
Air dry clay is an all-star – it’s easy to work with, dries without baking and can be fashioned into pretty much any object your heart desires. We heart Crayola Model Magic!
What you’ll need . . .
- Air dry clay
- Small glass jars or mini plasticplant pots (we used baby food jars)
- Rollingpin
- Butterknife
- Pen
- Spray varnish (optional)
How to . . .
Step 1: Use your hands to work the air dry clay until it softens, then roll it out until it’s large enough to wrap around your small plant pots/jars.
Step 2: Next, wrap the clay around the pots/jars and trim off the edges, smoothing over the joint where the two ends meet with a little water and the blunt side of the knife – this should even out the joint.
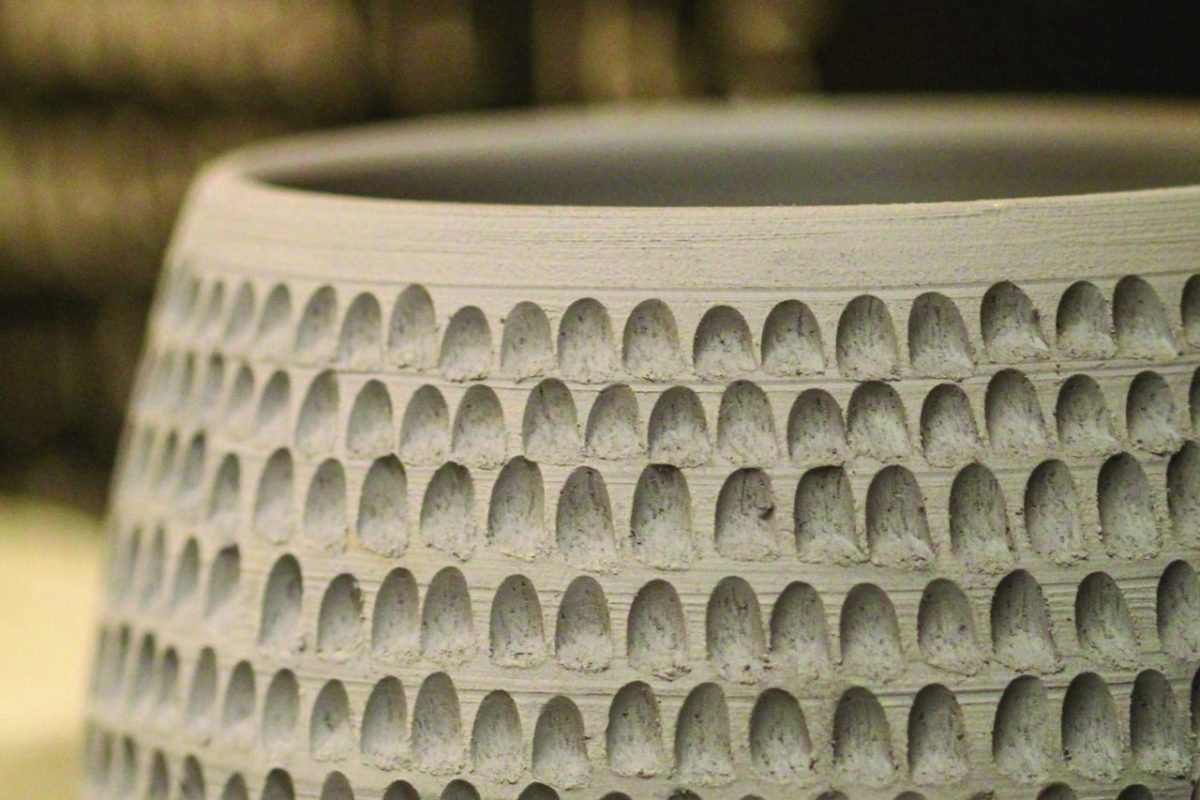
Step 3: Then it’s time for some texture! Taking your pen, use the round side – not the ink point – to pattern your clay pots. Indenting round circles in horizontal lines all the way around your pots – top to bottom. To mix things up, try using the pen to make diffident designs and patterns i.e. a snowflake for Christmas or cacti print!
Step 4: Once you’ve finished getting creative leave your pots to dry out in a warm, dry place.
Step 5: To make them sparkle and shine, spray them with a coat of spray varnish. If you’re wanting a matte look, skip the varnish and leave them as is or give them a coat of paint – you choose the colour!
Step 6: Finally, pop a baby succulent or cacti into your air dry pots!